


Welcome back to our AppSheet video series, where we continue our no-code journey of mastering app creation. In our previous articles, we explored the vast potential of AppSheet, from building powerful project tracking apps to delving into the world of app customization, unlocking advanced features, and empowering user experience.
Now, we’re ready to take your app-building skills to the next level with the art of data slicing and dicing using AppSheet. By mastering this technique, you’ll be able to effortlessly create custom views, organize your data, and gain valuable insights for smarter project management. Get ready to slice your project data like a pro!
Understanding the Power of Data Slicing
Imagine looking at your project management app and wanting to focus on specific projects, such as those that are yet to start. Applying a filter each time can be cumbersome. That’s where data slicing comes in, offering a smarter and more efficient way to customize your views.
Data slicing allows you to create subsets of data based on specific conditions or criteria. Instead of manually applying filters each time, you can predefine these conditions in the form of data slices. These slices act as virtual filters, enabling you to instantly view the data that meets your desired criteria.
By utilizing data slices, you gain a clearer and more focused view of your projects. This not only saves time but also improves your ability to make informed decisions and take action based on specific subsets of data. Whether you’re tracking project progress, identifying priority tasks, or analyzing project performance, data slicing empowers you to efficiently manage your projects with ease.
Creating a Data Slice in AppSheet
To create a data slice in AppSheet, follow these simple steps:
Step 1: Access the AppSheet Editor

Open the AppSheet editor and navigate to the Data tab, where you’ll find all the tools necessary to manipulate your project data.
Step 2: Create a New Slice
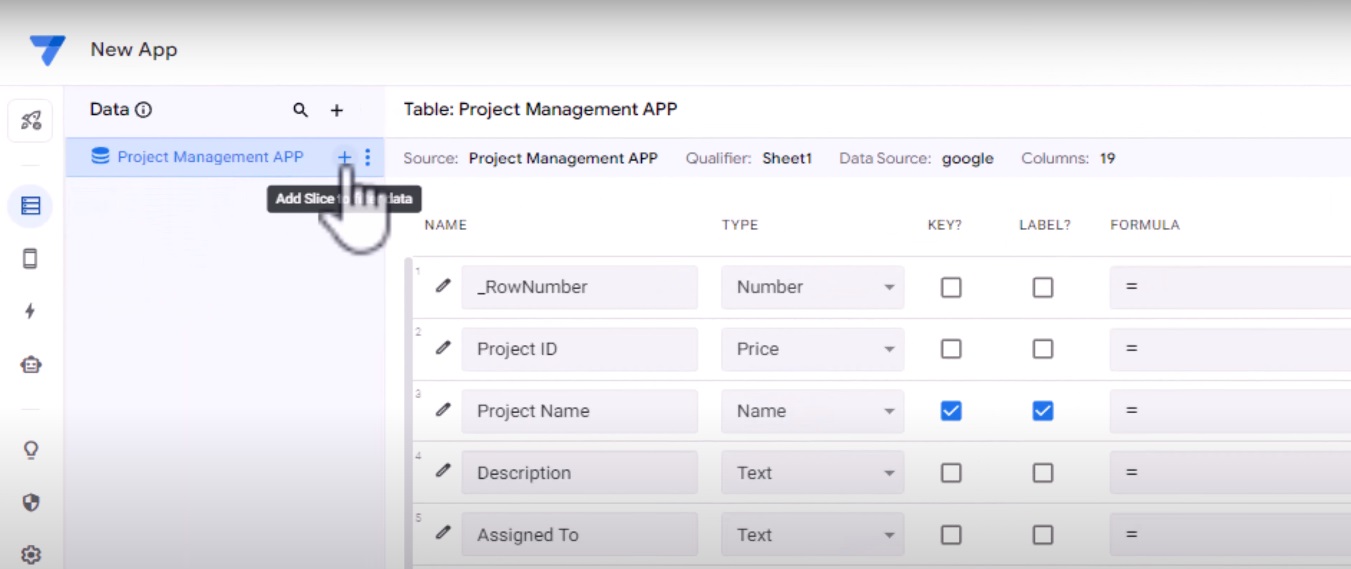
Click on the “+” button to create a new slice for your project management app.
Give the slice a meaningful name that reflects the subset of data it represents, such as “Not Started Projects.”
Step 3: Select the Data Table
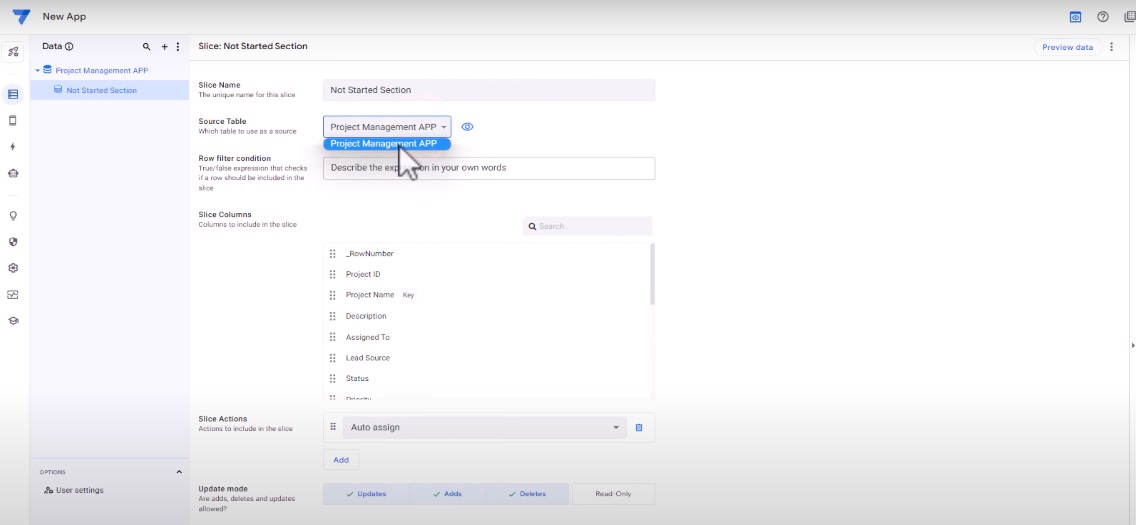
Choose the appropriate data table from the available options. This is the table where your project information is stored.
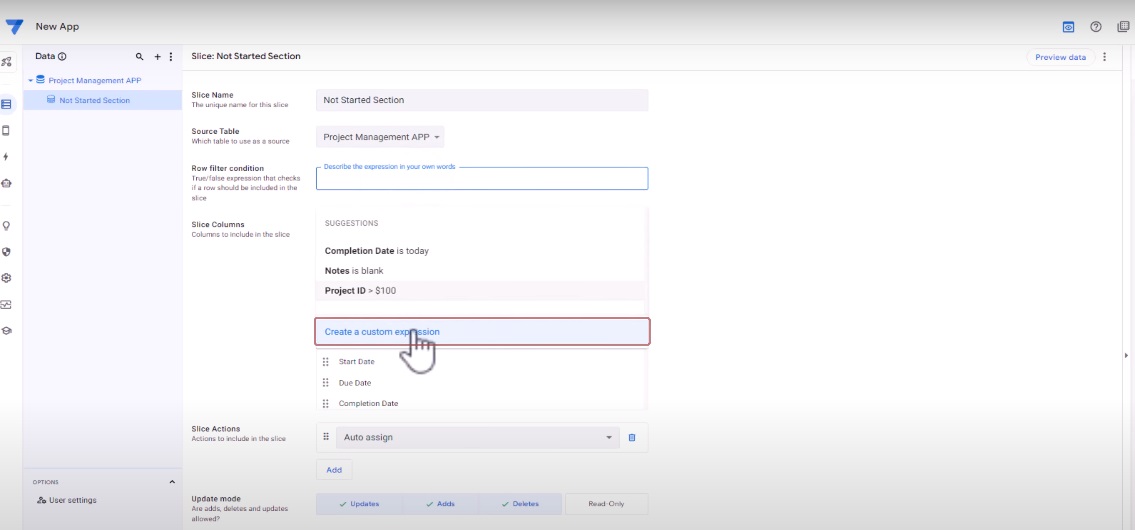
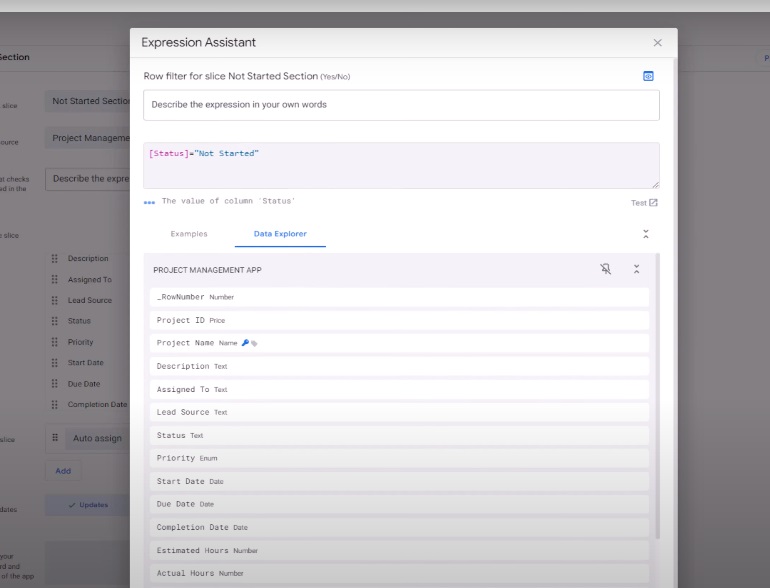
Step 4: Define the Slice Condition
Specify the condition for the slice using predefined conditions or custom expressions. For example, to focus on projects that are “Not Started,” use a custom expression to match the project status with “Not Started.”
Step 5: Save the Slice

Save the slice, and AppSheet will create the data slice based on the specified criteria.
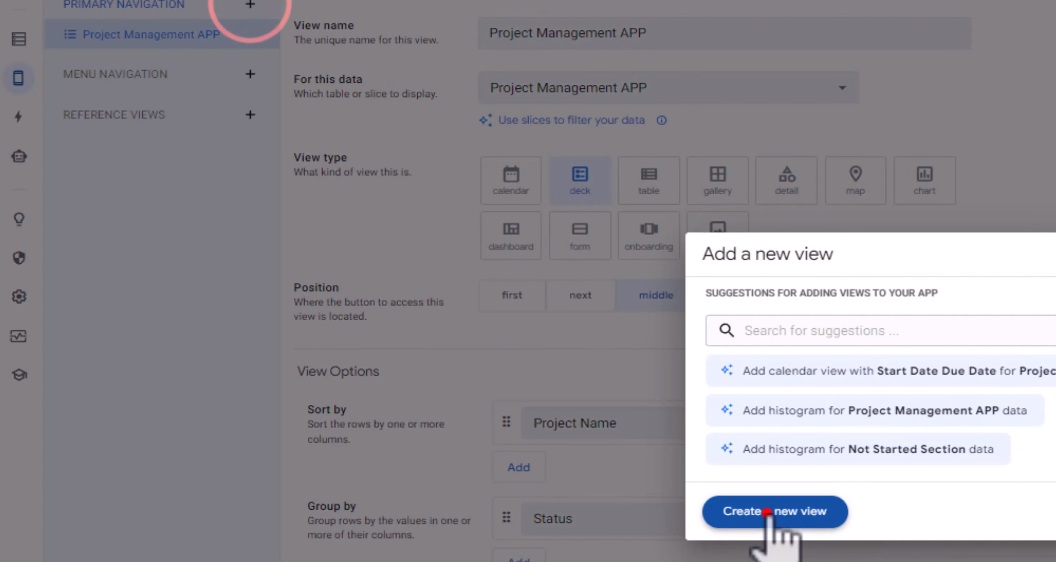
Step 6: Making the Data Slice Visible
Create a new view in the Views tab to make the data slice visible within your app. Select the data source as the previously created data slice and customize the view name for easy identification.

Transform Your Data Organization
Data slicing in AppSheet is a game-changer for businesses seeking efficient data organization and analysis. By following this comprehensive guide, you can unlock the full potential of data slicing, create custom views, and make informed decisions based on relevant subsets of data.
Embrace the power of AppSheet and elevate your data management to new heights. Stay tuned for more insightful content as we continue our no-code journey together.
Ready to master data slicing in AppSheet? Visit AI Data House and start transforming your data organization today. Experience the simplicity and effectiveness of AppSheet’s no-code app platform.