


Welcome back to our AppSheet video series, where we continue our no-code journey of app creation for small and medium-sized businesses (SMBs).
In our previous articles, we explored the immense possibilities of AppSheet, from building a powerful project tracking app to discovering the diverse range of business applications you can create with this remarkable platform.
Now, we’re diving deeper into the world of App customization. As you embark on the path of creating personalized business apps, today we’ll explore how to personalize the theme and brand of your app using AppSheet. By the end of this article, you’ll be able to make your app truly yours, reflecting your unique style and branding. Let’s dive in!
Step 1: Accessing App Customization Settings
- Launch AppSheet and open the app you want to customize.
- Locate the “Settings” button, typically located in the app’s navigation bar or menu.

Step 2: Customizing the Theme of Your App
- Within the settings, look for the “Theme and Brand” option.

- Click on it to access the theme customization settings.
Step 3: Choosing the App Theme
- AppSheet offers two main themes: Light and Dark. Select the one that suits your preference or matches your branding requirements.

- The theme you choose will determine the overall color scheme and appearance of your app.
Step 4: Setting the Primary Color
- In the theme customization settings, you’ll find options to adjust the primary color of your app.

- Explore the color palette provided or input a specific color code to match your brand identity.
- By customizing the primary color, you can update the color of buttons and other interactive elements within your app.
Step 5: Branding Your App with a Logo
- To showcase your brand identity, you can add a logo to your app.
![]()
- Enable the “Show logo in header” option at the bottom to display the logo at the top of your app.
- If you want to use a custom logo, click on the “Custom” button and upload your own logo image.
Step 6: Configuring Launch and Background Images
- Customize the launch image, which is displayed when your app is launched.
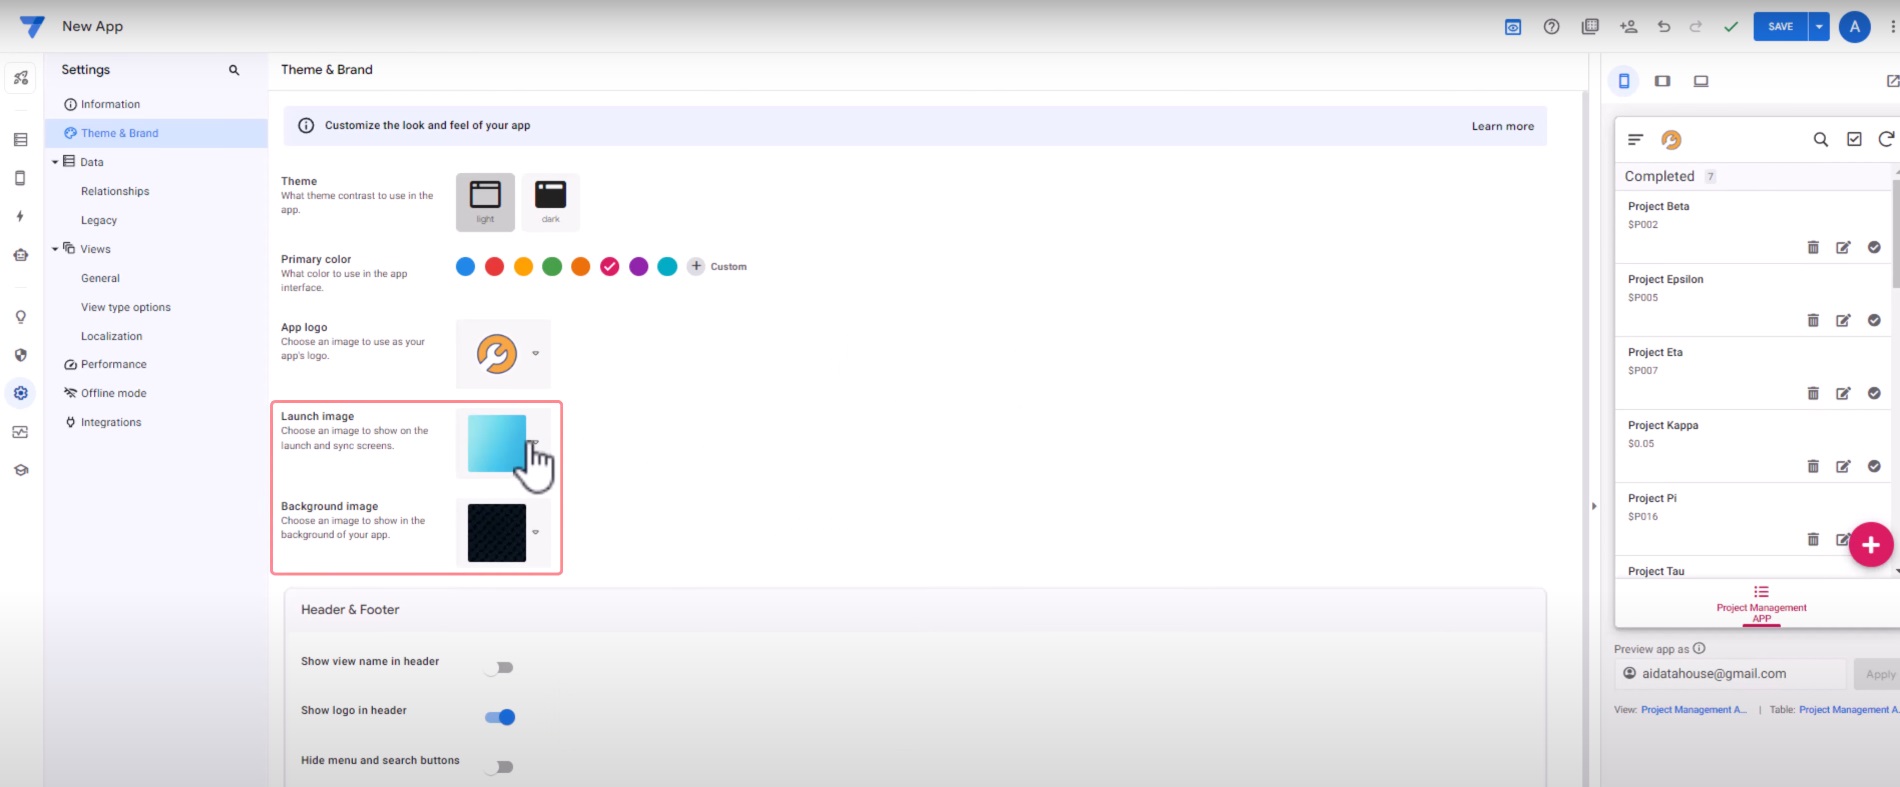
- Choose an image that represents your brand or complements the app’s purpose.
- Similarly, adjust the background image to create a visually appealing backdrop for your app’s content.
Step 7: Headers and Footer Settings
- Explore the options available to configure the headers and footer of your app.
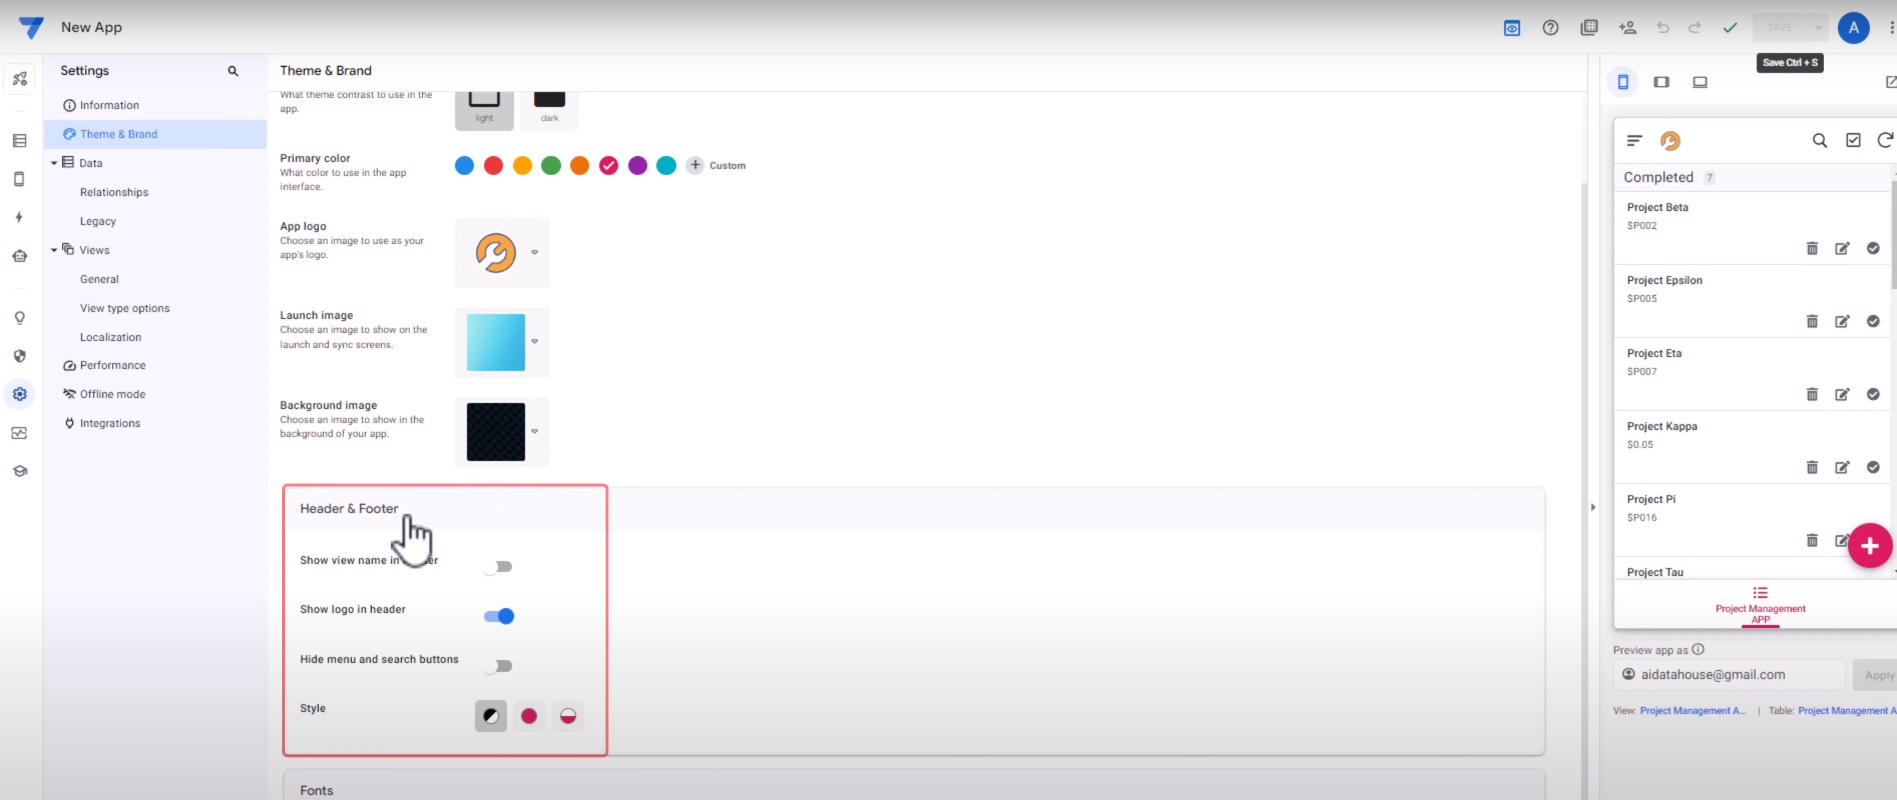
- Decide whether you want to display the view name in the header or hide it for a cleaner interface.
- Utilize the settings to hide the menu and search options, depending on your app’s requirements.
Step 8: Styling and Appearance
- Customize the style and appearance of your app to match your branding guidelines.
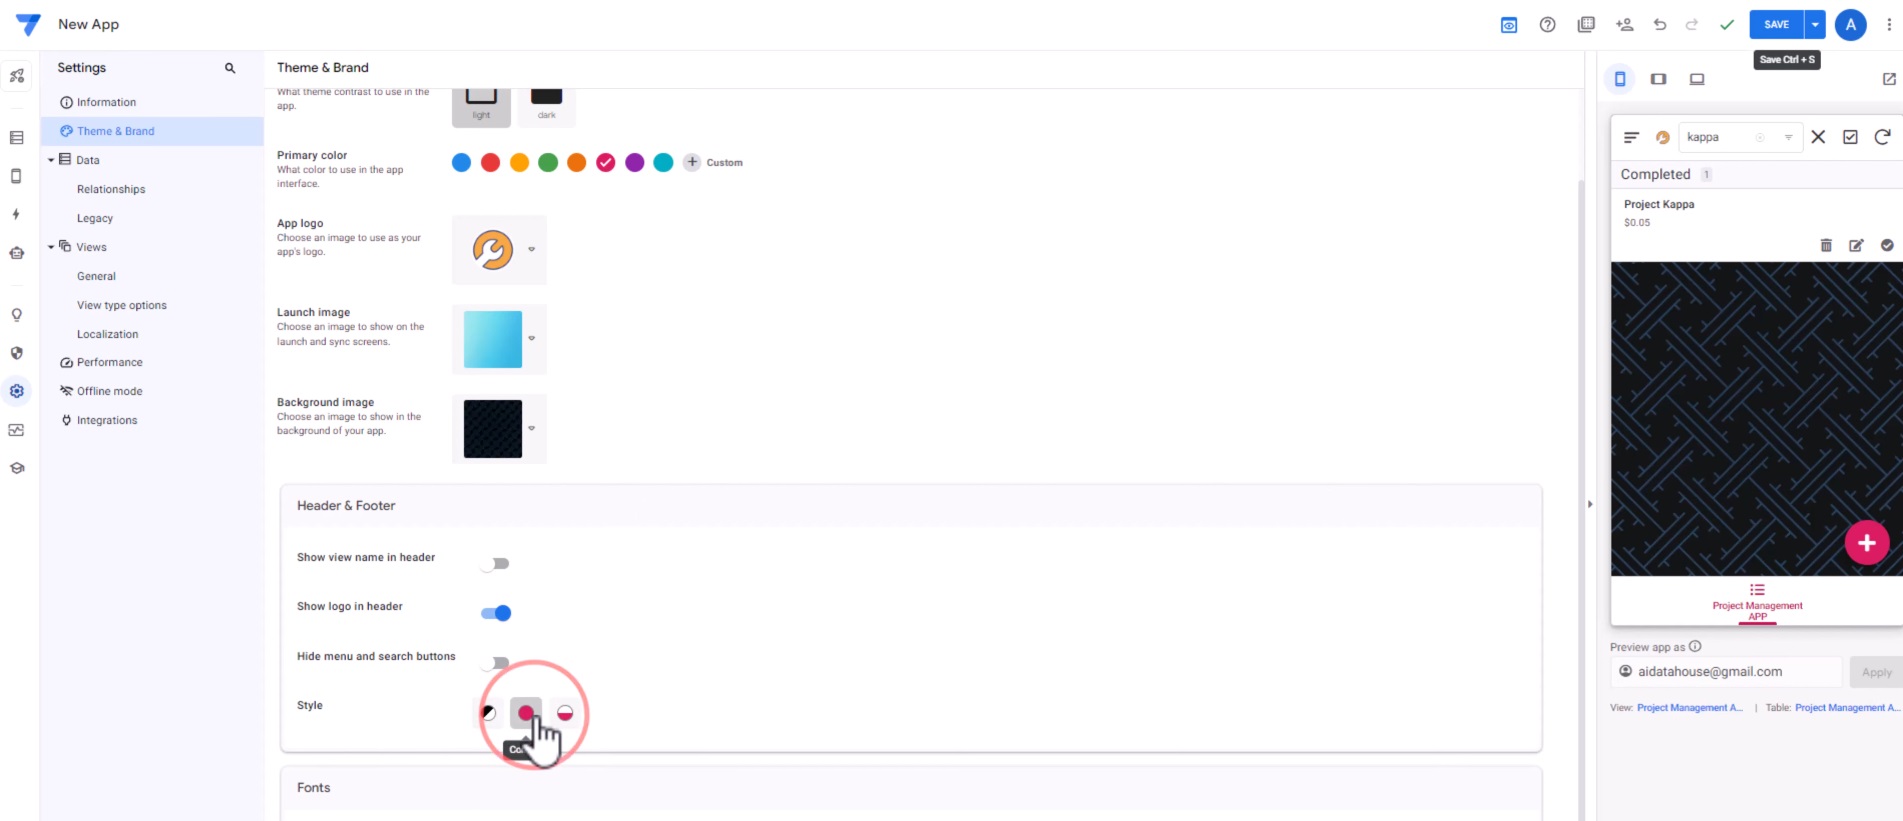
- Experiment with different styles and layouts to find the one that best represents your business.
Step 9: Font Size Customization
- Fine-tune your app’s user experience by adjusting the font size settings.
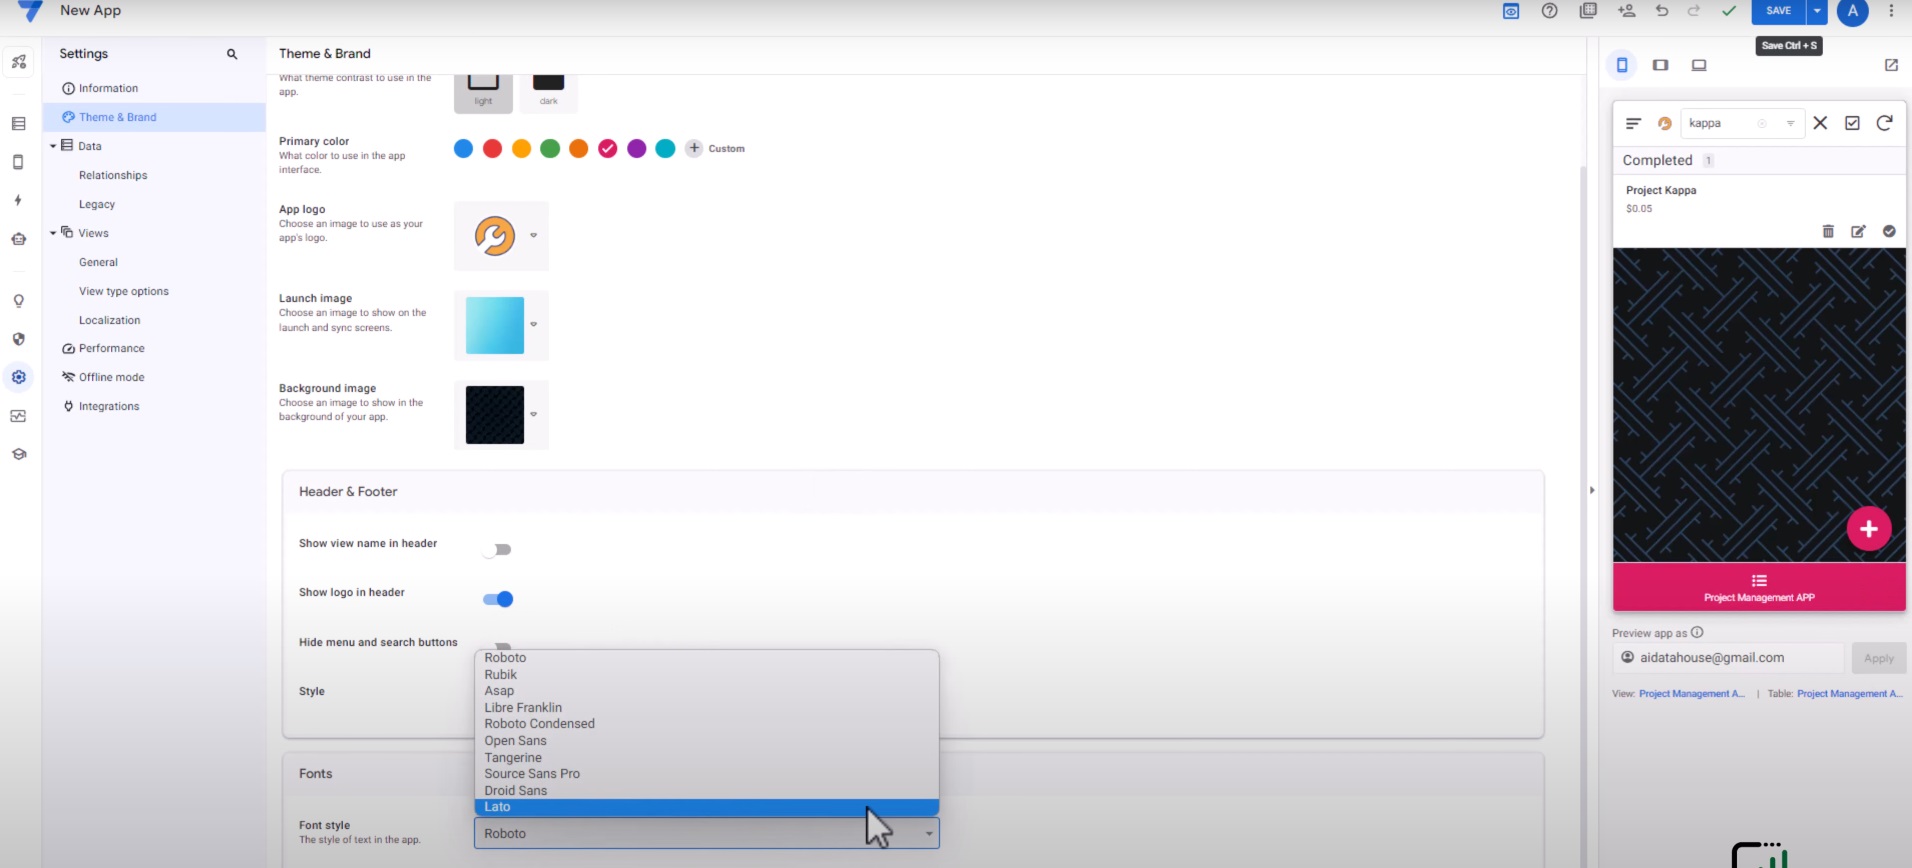
- Find the perfect balance between readability and aesthetics by choosing the most suitable font size for your app’s content.
Step 10: Saving Your Customizations
- After making all the desired changes, click on the “Save” button to save your customizations.

- This ensures that your changes are applied and stored for future use.
Congratulations! You’ve successfully customized the theme and brand of your app using AppSheet. Your app now reflects your unique style and branding.
Further App Customization Options AppSheet Gives You
AppSheet opens up a world of advanced customization options that enable you to fine-tune your apps to perfection. Beyond the basics of database structuring and initial app creation, let’s explore some of the powerful features AppSheet offers to take your apps to the next level:
1. Conditional Formatting
Make your app’s data visually impactful and easy to interpret with conditional formatting. Define rules to dynamically change the appearance of data based on specific conditions. For example, you can highlight overdue tasks in red, mark completed items with a checkmark, or color-code priority levels for quick identification.
2. Interactive Dashboards
Create interactive dashboards that provide a comprehensive overview of your data. Use charts, graphs, and tables to present key performance indicators (KPIs) and critical metrics at a glance. With dynamic dashboards, your team can analyze trends, identify patterns, and make informed decisions swiftly.
3. Actions and Workflows
Enhance user experience and streamline processes with actions and workflows. Configure buttons that trigger specific actions, such as sending emails, updating data, or opening other apps. Set up workflows to automate repetitive tasks and guide users through a seamless, guided experience.
4. Slices
Slices allow you to create different views of your data without altering the underlying database structure. Customize slices to show specific columns, filter data, and define sorting orders. Slices empower you to offer tailored views for different user roles and streamline data access.
5. Form Rules and Validations
Ensure data accuracy and consistency with form rules and validations. Set up rules to show or hide specific form fields based on user inputs or previous selections. Implement validations to enforce data integrity and prevent errors during data entry.
6. Interactive UX Features
AppSheet offers a range of interactive user experience (UX) features to make your app more engaging and user-friendly. Incorporate drop-down menus, buttons, and interactive maps to provide an intuitive and enjoyable app experience for your users.
7. Custom Branding
Personalize your app’s appearance and align it with your brand identity. Customize app themes, logos, and colors to reflect your company’s branding and create a cohesive user experience.
8. Integrate with Other Services
AppSheet integrates seamlessly with other services and platforms, enabling you to extend your app’s functionality. Integrate with Google Maps for location-based features, connect with cloud storage services for file attachments, and link with external databases to enrich your app’s capabilities.
Customize Your App, Unleash Your Creativity
AppSheet provides an innovative solution for businesses seeking no-code app customization. With its intuitive interface, extensive customization options, and seamless user experience, AppSheet empowers users to create tailored apps without the need for coding expertise.
We hope this article has inspired you to dive deeper into the world of app customization and explore all the tools and techniques AppSheet has to offer. Stay tuned for more insightful content as we continue our no-code journey together.
If you are ready to unlock the full potential of app customization, visit AI Data House to get started and embark on your journey towards creating personalized and impactful apps.